


A Guide to Injection Molding Surface Finishes
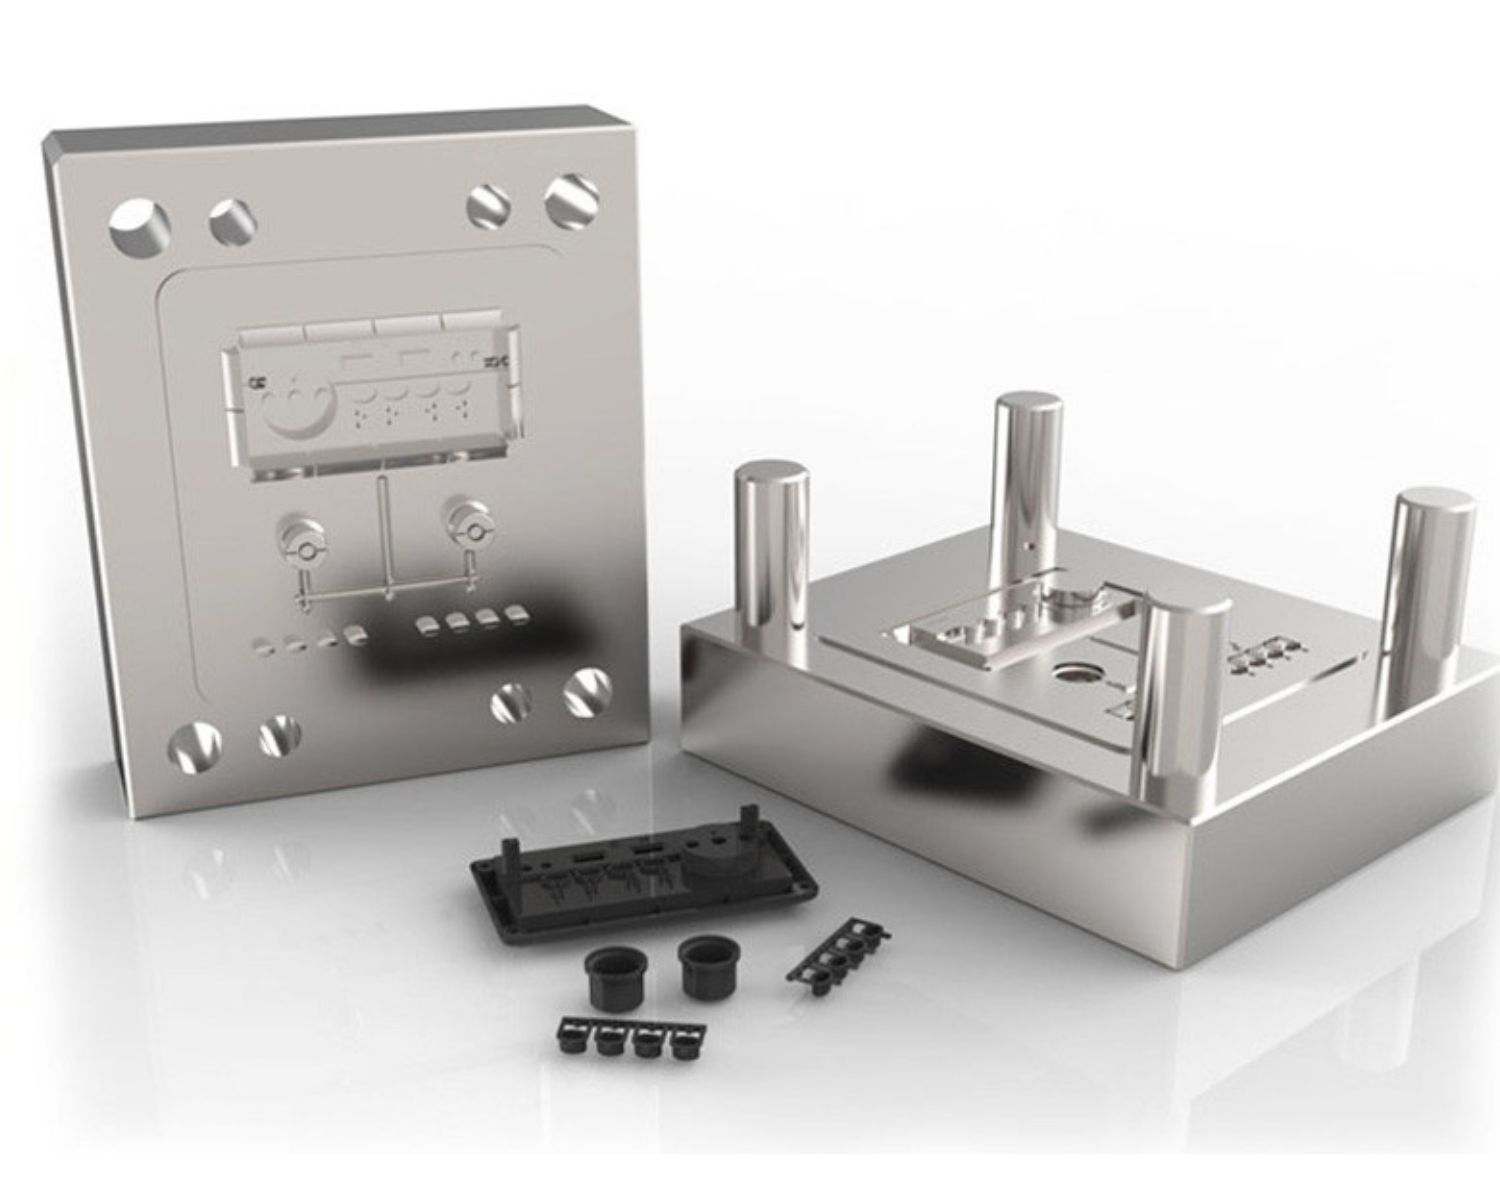
Table of Contents
The finishing touches on an injection-moulded part are pivotal for the overall design of the item. This is because it touches on the form of the item. How it functions and feels and all other aspects of its performance. An informed decision on surface finish is pivotal for new product design for sponsors, designers, and engineers. This is because selection of surface finish is informed by materials, geometry of the part, and final purpose of the item.
An explanation of numerous designs of injection moulding is the focus of the following documentation along with how surface finish selection fits your project, along with looking at some necessary design variables that must be considered so that an optimal selection is made.
Why Surface Finish Selection Matters
Choosing a surface finish is one of the primary aspects of product design. Designing a product is an iterative process. A surface finish can impact other aspects of the design. Because of this, choosing a surface finish must be done as early as possible in the design process.
Aesthetics: The impact that surface finish design chosen is the first perception that an individual looks and touches your item, is the finishing touch speaking the quality of your product? Does it communicate precision? Is it high gloss or textured finish?
Functionality: The surface finish serves a functional role. Textured surfaces improve grip and conceal fingerprints and other small flaws, while surfaces that are high gloss and smooth are required for optical accessories such as lenses or covers that are clear.
Part Ejection: The finish choice has a major impact on the ease with which a part can be removed from the mould. Textured surfaces create more, and rougher surface finishes create more drag and therefore need larger draft angles that can increase the chances of a part being scraped with drag marks as the part is being removed.
Material and Surface Finish Appearance
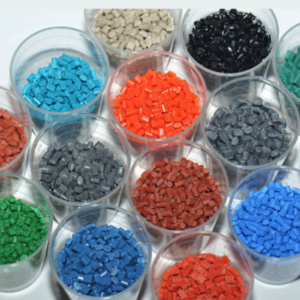
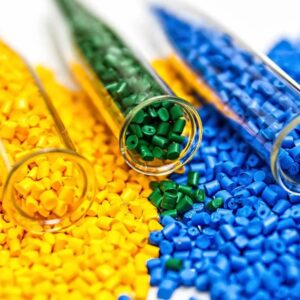
The surface finish appearance is essentially a function of the finish texture on the mould and the specific plastic resin being used. Materials have different interactions with the mould surface so it is essential to analyse how your specific material choice will influence the final appearance.
– Hardness: The hardness of the plastic resin has an impact on how accurately it captures the mould texture. Harder resins such as Polycarbonate (PC), will replicate, and mimic, surface textures accurately. On the other hand, softer, more pliable resins like Thermoplastic Vulcanizate (TPV), can absorb some of the texture or, less so, the finish can be more smooth.
– Colour: The shade of a material can either enhance or diminish a texture. Dark shades such as black or dark grey tend to accentuate the extremes of a texture. On the other hand, lighter shades such as white or beige can soften the texture so that it has a less severe appearance.
– Fillers: Numerous high-performance resins are supplemented with reinforcing additives such as glass or mineral fibres to improve their strength. However, these additives may compromise the part’s surface, impacting the definition of the texture. For instance, with glass-filled Nylon, resins that are reinforced may lead to cosmetic concerns such as streaks or reduced uniformity as opacity is increased.
Bonbby’s Standard Injection Moulding Surface Finishes
Bonbby boasts eight standard surface finish options which are directly incorporated into the mould tooling. It is worthwhile to mention that these are surface finishes as the mould is constructed, and secondary finishing operations such as painting or plating are not offered.
Below, we have provided a list of these standard finishes.
Finish Code | Description | Typical Application |
PM-F0 | Non-cosmetic, finish as machined | Internal or hidden parts where appearance is not a concern. |
PM-F1 | Low-cosmetic, most tool marks removed | Can be used for some internal parts or external parts that will be textured or painted later. |
SPI-C1 | 600 grit stone | Low-cost polished finish for non-cosmetic applications. |
SPI-B1 | 320 grit paper | Most common low-gloss finish for parts requiring a smooth feel. |
SPI-A2 | Grade #2 diamond buff | High-gloss, mirror-like polish used for lenses and clear parts. |
PM-T1 | Light bead-blast texture | Provides a satin or matte finish, good for hiding fingerprints. |
PM-T2 | Medium bead-blast texture | Common choice for a general-purpose textured finish, offering good grip. |
PM-T3 | Rough bead-blast texture | Provides a rougher, more rugged surface texture. |
Key Design Considerations for an Optimal Surface Finish
Getting the surface finish that meets your expectations is not as simple as picking an option from a list. It demands additional effort in the design stage.
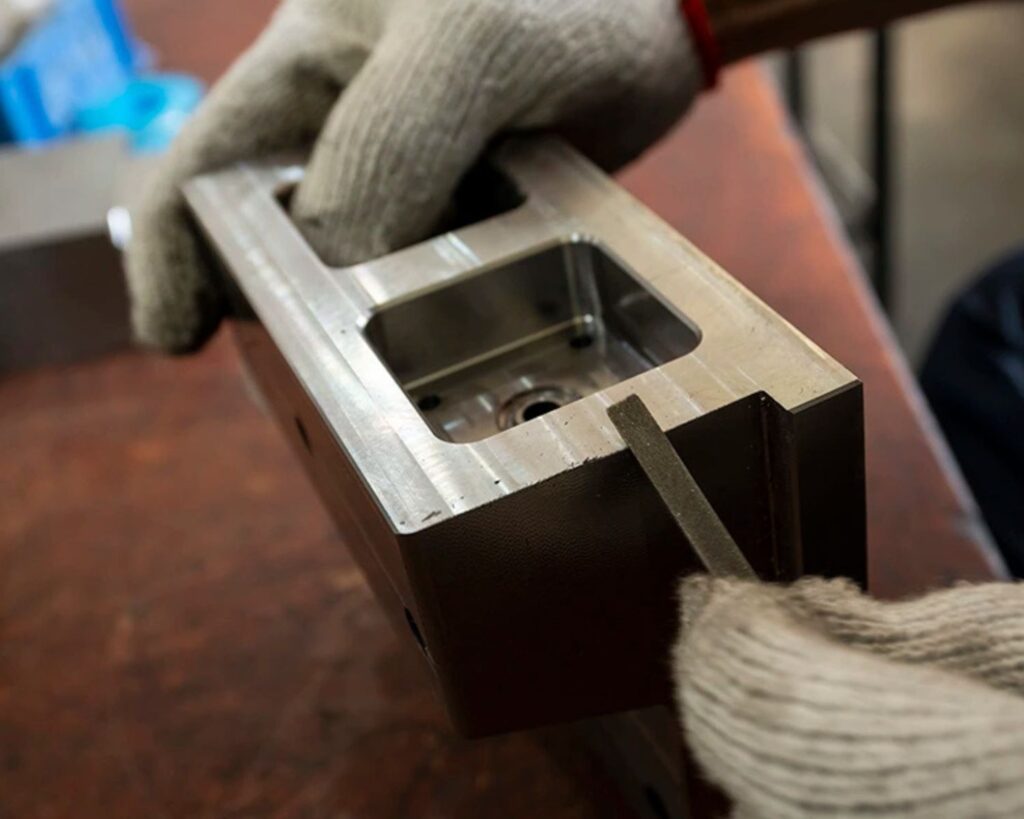
Draft Angles
Draft is critical for clean part removal from the mould, especially for vertical-wall parts, and is a slight taper. Poor draft design results in part mould wall scraping and finished drag mark damages upon removal. The lower the texture, the shallower the draft angle.
- Polished Finishes (SPI-A2, SPI-B1): Typical standard draft angle is 0.5°, which is considered adequate.
- Light Texture (PM-T1): 3° draft angle is the minimum requirement.
- Medium Texture (PM-T2): A 5° draft angle is the minimum requirement.
Ejector Pins & Gating
Ejector pins will be required to remove the cooled part from the mould. Gating refers to the location where the molten plastic is introduced to the mould cavity. Marks from both features will be apparent on the completed part.
- The location of the part out of the mould is largely cosmetic for high gloss or optically clear parts; minor defects become evident.
- Optimising the cosmetic impact of gate and ejector pin location will be performed during design for manufacturability (DFM) analysis by our engineers.
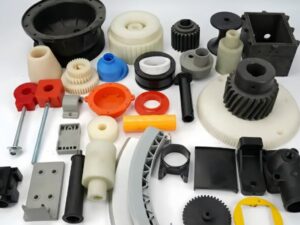
Custom Finishes and Two-Sided Parts
It is indeed possible to apply different finishes to different regions of the same part. For example, one can apply a cosmetic finish to the A-side (the outer, visible side) and a functional, non-cosmetic finish to the B-side (the inner side).
To request custom or multi-finish parts, you will need to provide:
- A colour-coded document that indicates which surfaces will receive which finish.
- A CAD model which has the correct draft angles applied for each finish to specification.
- Distinct and clean surfaces provided in your model for each of the finish types.
Choose Your Finish with Confidence
Picking the correct surface finish is the most critical stage in defining your product’s look, functionality, and overall manufacturability. It’s possible to provide a high-quality surface finish by designing the part and choosing the correct materials to pair with the appropriate textures. Planning for your surface finish early is the best way to achieve a product that looks and works the way you need.
Prepared for the subsequent phase? Please submit your CAD model in order to obtain an interactive quotation, which includes complimentary design for manufacturability (DFM) assessment. Our professionals are available to assist you with selecting the most appropriate options for your injection moulding surface finishes.
Frequently Asked Questions (FAQ)
Q:To pick appropriate surface finishes, what factors should I consider?
A:The intended use, desired features, finished look, and material of the product will have to be considered. Optical components require a more polished finish such as SPI-A2, while for a better grip, a more modern look, or a matte finish, a bead-blasted texture along the lines of PM-T1 or PM-T2 works best.
Q:Is there unlimited compatibility between surface finishes and materials?
A: No, more than most factors, material is the most critical. Soft materials can substantially soften or dull the effect of the texture. In contrast, hard materials will show it more, while materials incorporating fillers such as glass can greatly interfere with the desired texture and finish. The material properties must complement the finish you have in mind.
Q: What happens if I don’t have enough drafted for the texture I chose?
A: A surface with inadequate draft for the texture will be difficult to disengage. It will drive the part to undesirably scrape against the mold during the ejection. This can result in unattractive scraping, streaking, or damage to the surface finish and surface, a condition that can lead to more rejected parts, driving additional cost.
Q: What are the finishing blemishes on my parts?
A: Visible blemishes on surface are often a result of finish hinge wire, bolt or gate positions, or location, or in the case on equipment used, of the pins used to eject the part form the mold (witness marks). In the case of cosmetic parts, it is often more critical to consider with the aim of concealment of the blemish on a visible side.
Q: Is it possible to have a smooth leather-like texture for one side and a plain batter finish for one side?
A: Definitely yes, most cases I have handled like this. Please make sure to have very clear written instructions, as well as CAD files containing the appropriate identifiers for the draft for each of the surfaces.